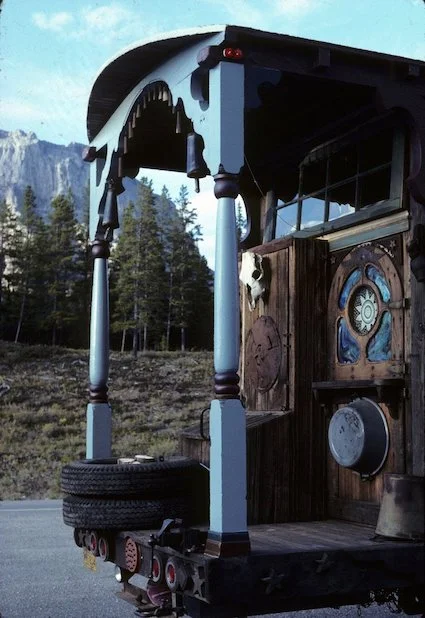
how to build a housetruck
My palms slipped on the steering wheel as I headed west for the freeway, head spinning and heart giddy with what I’d just done.
I just spent $4000 on a 25ft long, 20 year old truck. I was 25 years old.
I couldn’t believe it. After years of planning and saving, I finally made the jump and committed to the biggest commitment of my life. I didn’t own a single tool, had no building skills, no mechanic skills, but I was going to build a housetruck.
I had pre-arranged a place to park it while I was working on it, the corner of a gravel pit on my tiny island hometown. The owner was a local legend, who when I had described what I wanted to do raised his eyebrows and tugged on his waist length wizard beard and said “Well alright, sounds like a fun project”. He was a character himself, and I like to think approved of such a crazy-sounding idea.
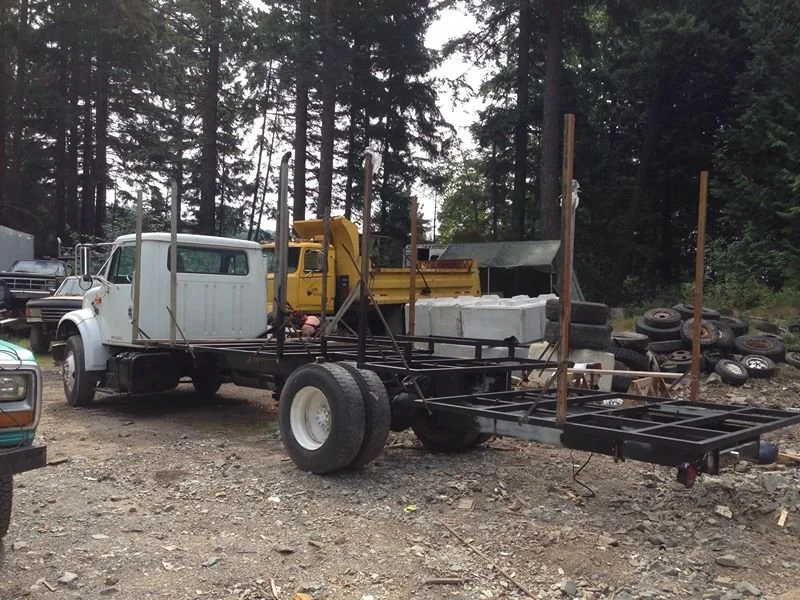
My first order of business was to find someone who could weld. The International 3900 was just a cab chassis and I needed a solid foundation to build my home on, so I needed a flat deck. I hired a local young woman who would be starting her welding apprenticeship in the fall to help me, and the first hurdle to building the housetruck was crossed.
The Housetruck is framed in 2” square tube steel, with vertical supports welded directly to the flat deck, and several cross beams to help with roof spread. I was very concerned with structural rigidity, seeing as my home would have to endure the equivalent of a hurricane and an earthquake at the same time whenever it was driving down the road.
My favorite part of any build is framing, so much visual progress made in a short amount of time!
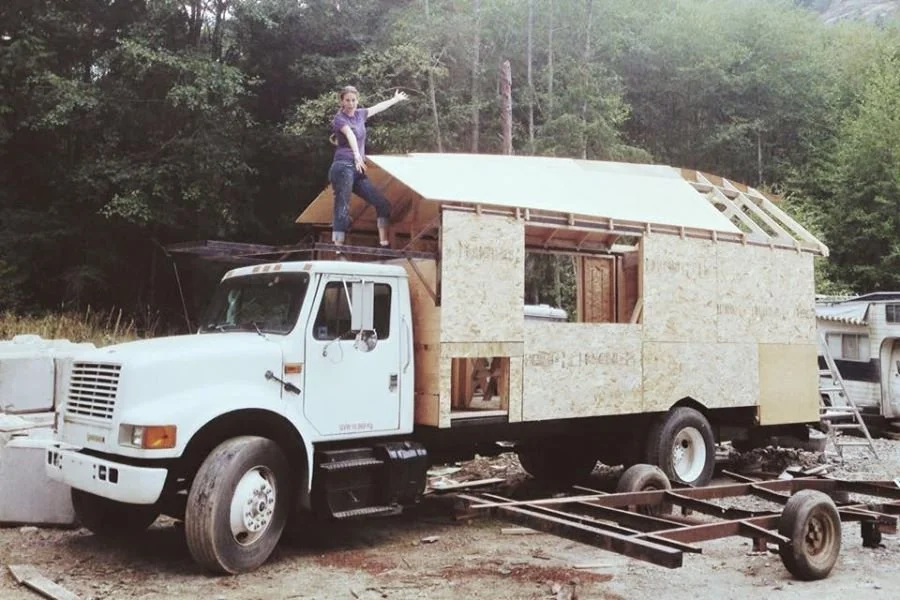
Next came the framing of the stud walls. Everything is framed with 2”x3” studs, for weight and space savings. The stud walls were slotted in between the steel posts and everything was bolted together. Next the sheathing was glued onto the studs with heavy duty construction adhesive and fastened with screws. This stiffened up the house significantly. One of your biggest foes in using wood on a moving vehicle is VIBRATION. Everything must be designed with vibration in mind, so glue and screw style construction is the sturdiest. Nails will work themselves out over time, but screws or ring-shank nails will hold fast.
Very proud of “how much progress” I’d made. Little did I know how much more work it would be..
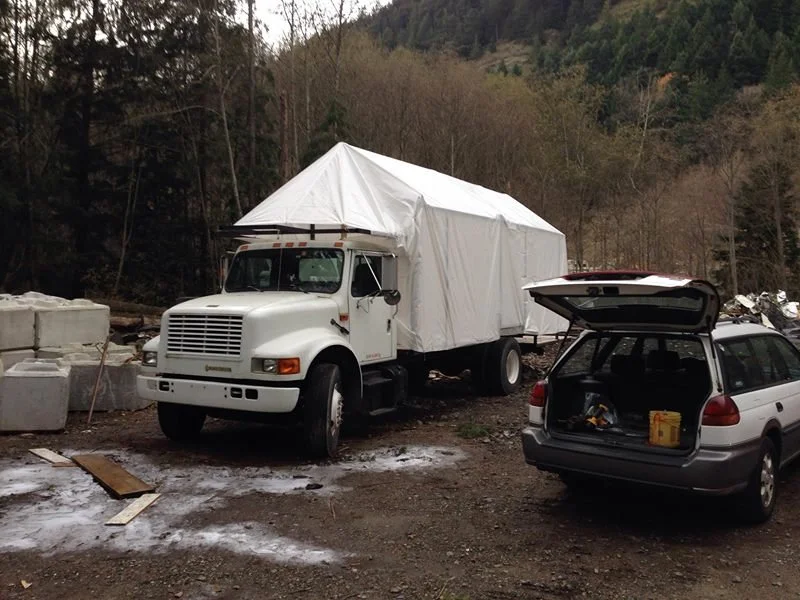
Seeing as I was building outdoors in the pacific northwest, planning work sessions around the weather became a bigger and bigger problem. In fact, getting the housetruck to a water-proof state ended up taking 3 years purely because of the fact that construction progress completely halted every time there was a storm forecast. I had a 50’ x 30’ giant tarp that I had to wrap and unwrap the truck with before and after every building session.
My constant fear of water damage pushed me to finish the roof first. It is covered with 18” long hand-split cedar shakes cut from driftwood found on the beaches surrounding my families’ properties. I had a crash course in shake cutting, and inherited my grandfathers froe and mallet that he had used decades previous to cut his own house siding.
The shake-cutters setup
Pretending I’m definitely not scared of heights
This is the point it’s starting to actually look kinda cool!
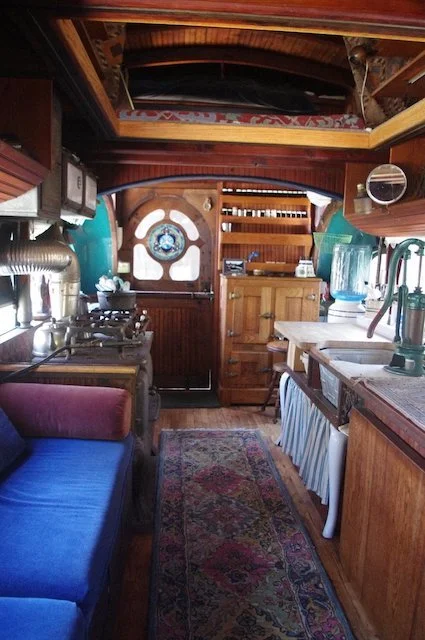
At the same time as I was working on the carpal-tunnel-inducing task of splitting all the siding for the housetruck, I was also doing my first ever joinery projects. I wanted and needed a custom sized fantasy-inspired door. One of the issues in building tiny homes and housetruck is that many building industry standard products are much too large. I had several old books from the 1970’s with photos of housetrucks and housebuses, and one in particular had always inspired me; Grace the Bus built by Prakash aka Leaf. I modeled my door after his design.
Credit: https://www.gracetheenchantedbus.com/
https://www.gracetheenchantedbus.com/
After several years of building by this point, I met and fell in love with Ben. An adventurous individual, he had lived a colorful life and was instantly smitten by both myself (haha) and the housetruck project. He knew of someone who was organizing a tiny house village, and we had the opportunity to get one of the first spots! So after buttoning things up and loading allll of the extra building supplies into the truck, we hit the road for the Trucklings maiden voyage.


